Making your own jewelry at home is one of the most relaxing and rewarding hobbies you can pick up. You don’t need years of experience or expensive tools. All you need is a bit of patience, some basic supplies, and a willingness to experiment. Beaded necklaces are the perfect starting point for beginners because they’re simple, forgiving, and always look great when finished. Whether you want to create something for yourself or make a thoughtful handmade gift, learning this craft opens up a world of creative possibilities.
Gathering Your Supplies
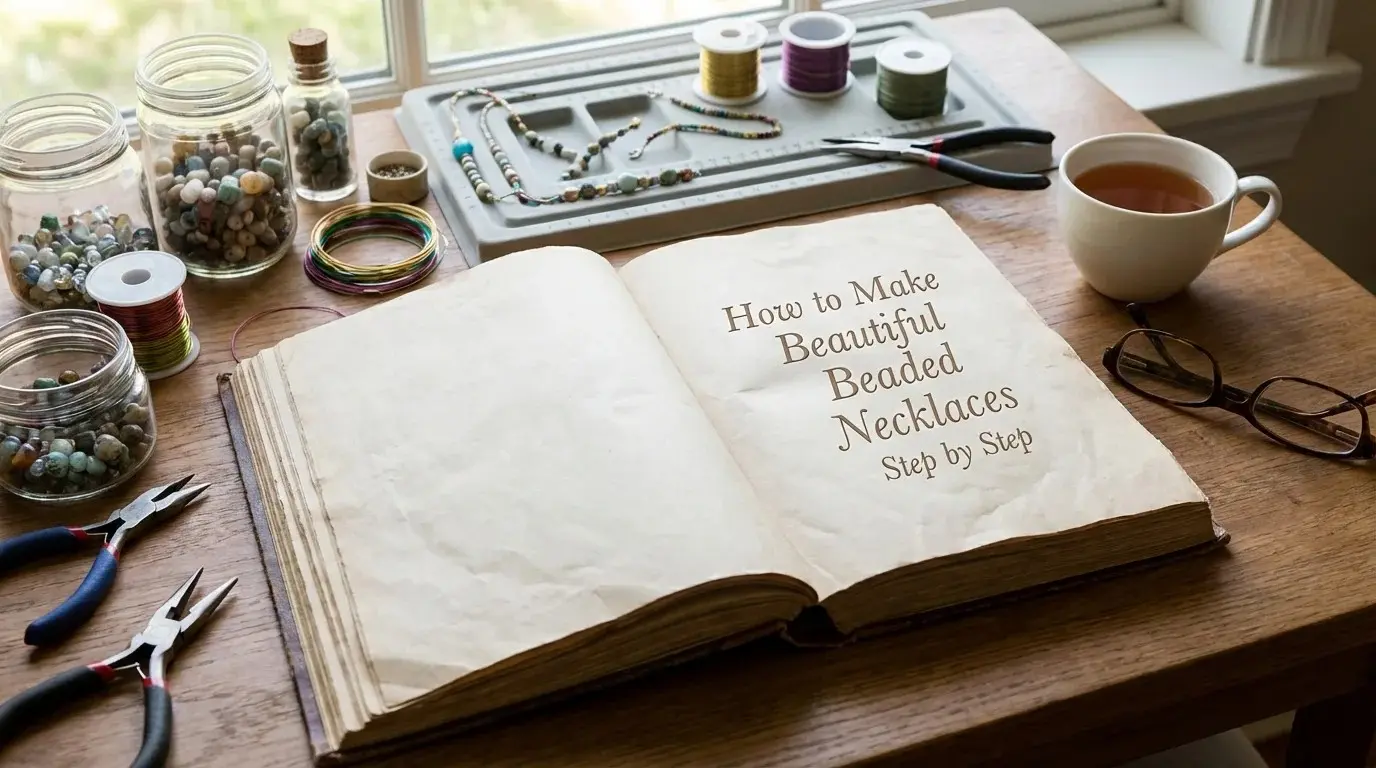
Before you start, you’ll want to have everything laid out in front of you. A clean, flat workspace makes the process much easier. Here’s what you’ll need to get going.
First, pick your beads. You can find them at any craft store, online shops, or even thrift stores. Glass beads, wooden beads, seed beads, and gemstone beads are all popular choices. Think about the look you’re going for. Do you want something bold and colorful? Go with large acrylic beads in bright shades. Want something more subtle? Try small pearls or crystal beads.
Next, choose your stringing material. Beading wire works well for heavier beads. Stretch cord is great if you want a bracelet-style necklace with no clasp. Nylon thread is good for lighter, more detailed work. For most beginner projects, beading wire with a thickness of 0.018 or 0.020 inches is a solid pick.
You’ll also need crimp beads, a clasp, jump rings, wire cutters, and crimping pliers. These items are usually sold together in beginner jewelry kits, which can save you time and money.
Planning Your Design for Beaded Necklaces
Don’t skip the planning stage. It’s tempting to just start threading beads, but a quick layout saves you from redoing work later.
Lay your beads out on a bead board or a towel. A towel keeps beads from rolling away. Arrange them in the order you want. Try different patterns. Alternate colors or sizes. Place a large focal bead in the center and work outward with smaller beads on each side. This gives your piece a balanced, polished look.
Measure the length you want. A standard necklace sits around 18 inches, but you might prefer a choker (14 to 16 inches) or a longer style (22 to 24 inches). Add about 2 extra inches to your stringing material for finishing the ends.
Take a photo of your layout with your phone. That way, if anything shifts or falls, you have a reference to go back to.
Stringing the Beads
Now comes the fun part. Cut your beading wire to the length you decided on. Thread one crimp bead onto the wire, then loop the wire through one half of your clasp. Bring the wire back through the crimp bead, creating a small loop around the clasp. Use your crimping pliers to flatten the crimp bead tightly. This secures the clasp in place.
Start adding your beads one at a time, following the pattern you laid out. Push each bead down toward the clasp as you go. If you’re using a focal bead, make sure it sits right in the center. Count your beads on each side to keep things even.
Take your time here. Rushing leads to mistakes, and restringing isn’t fun. If a bead doesn’t slide easily onto the wire, don’t force it. The hole might be too small. Just swap it for another one.
Finishing the Necklace
Once all your beads are on the wire, it’s time to close up the other end. Thread another crimp bead onto the wire. Then loop the wire through the other half of the clasp (or a jump ring connected to the clasp). Pull the wire back through the crimp bead and through the last two or three beads. This hides the tail of the wire inside the beads, giving you a clean finish.
Pull the wire snug so there’s no gap between the beads, but not so tight that the necklace feels stiff. You want a tiny bit of flexibility. Once you’re happy with the tension, use your crimping pliers to flatten the crimp bead securely. Trim the extra wire with your cutters, cutting as close to the bead as possible.
Give the necklace a gentle tug to test the connection. It should hold firm without any movement at the crimps.
Adding Your Own Creative Touch
Once you’ve made your first piece, you’ll probably want to try new things. That’s the beauty of this craft. There are so many directions you can go.
Try mixing materials. Combine metal spacer beads with glass ones. Add small charms between sections. Use letter beads to spell out a name or word. Layer different textures together for a more interesting look.
You can also experiment with multistrand designs. Use two or three wires and connect them all to a single clasp with jump rings. This creates a fuller, more stately style piece.
Color theory helps too. Pair complementary colors like blue and orange or purple and yellow for contrast. Stick to one color family (like different shades of green) for a more unified feel.
Common Mistakes to Avoid
A few things trip up beginners. Here are the most common ones.
Using wire that’s too thin for heavy beads is a big one. The wire can snap or stretch over time. Match your wire thickness to your bead weight.
Not crimping tightly enough causes necklaces to fall apart. Practice your crimping technique on scrap wire before working on a real piece.
Making the necklace too tight is another issue. It should drape naturally around your neck, not press into your skin. Always try it on before you finish the second end.
Forgetting to account for the clasp length is easy to do. Your clasp and jump rings add about half an inch to an inch. Factor that in when measuring.
Start Creating Today
You now have everything you need to make your first piece from scratch. The process is straightforward, and the results can look surprisingly professional even on your first try. Beaded necklaces make wonderful personal accessories and heartfelt gifts that people actually appreciate. So grab some beads, set up your workspace, and start creating. The more you practice, the more confident and creative you’ll become. There’s no wrong way to do it as long as you enjoy the process.